

Shade8 encryption process
Shade8 is a new type of Hidden Tear ransomware, the aims of which haven’t been changed. Mainly it attacks computers by the means of email attachments, but hackers also use open ports of a computer in order to inject it directly. When it’s done, Shade8 begins the scanning and encryption processes. In consequence of it, your files are unreadable, as the extensions of them have been changed to .shade8 ones. Don’t try to remove Shade8 ransomware encryption just by the simple file renaming, as these actions can damage your files permanently. Moreover, the virus creates ransom notes, that are called READ_THIS.txt and they contain the following information:
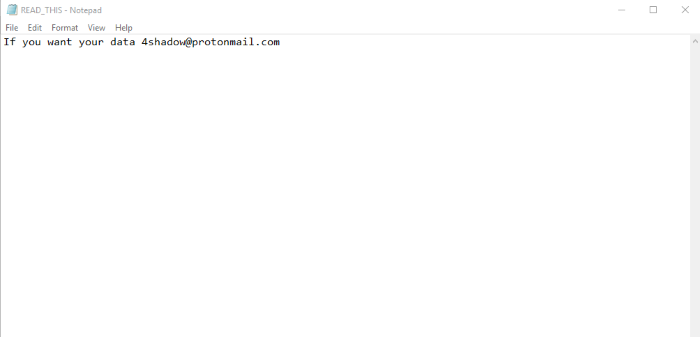
If you want your data 4shadow@protonmail.com
The characteristic feature of Shade8 ransomware is a special background image, that the virus sets instead of your original one:

If your data is necessary for you, we are

the only ones who can give it back to you

4shadow@protonmail.com

SHADOW
Don’t take a risk and avoid any contacts with them. They can easily cheat you, as they don’t give you any firm guarantee that they will stick to their words. If you are really interested in how to remove Shade8 ransomware and decrypt .shade8 files, you can use our guide for free!
Article’s Guide
- How to remove Shade8 Ransomware from your computer
- How to remove Shade8 Ransomware encryption from your files
- Data Recovery
- Automated decryption tools
- Windows Previous Versions
How to remove Shade8 Ransomware from your computer?
We strongly recommend you to use a powerful anti-malware program that has this threat in its database. It will mitigate the risks of the wrong installation, and will remove Shade8 from your computer with all of its leftovers and register files.
Solution for Windows users: our choice is Norton 360 . Norton 360 scans your computer and detects various threats like Shade8, then removes it with all of the related malicious files, folders and registry keys.
If you are Mac user, we advise you to use Combo Cleaner.

How to decrypt .shade8 files?
Once you’ve removed the virus, you are probably thinking how to decrypt .shade8 files. Let’s take a look at possible ways of decrypting your data.
Recover data with Data Recovery

- Download and install Data Recovery
- Select drives and folders with your files, then click Scan.
- Choose all the files in a folder, then press on Restore button.
- Manage export location.
The download is an evaluation version for recovering files. To unlock all features and tools, purchase is required ($49.99-299). By clicking the button you agree to EULA and Privacy Policy. Downloading will start automatically.
Restore data with automated decryption tools
Unfortunately, due to the novelty of Shade8 ransomware, there are no available automatic decryptors for this encryptor yet. Still, there is no need to invest in the malicious scheme by paying a ransom. You are able to recover files manually.
You can try to use one of these methods in order to restore your encrypted data manually.
Restore data with Windows Previous Versions
This feature is working on Windows Vista (not Home version), Windows 7 and later versions. Windows keeps copies of files and folders which you can use to restore data on your computer. In order to restore data from Windows Backup, take the following steps:
- Open My Computer and search for the folders you want to restore;
- Right-click on the folder and choose Restore previous versions option;
- The option will show you the list of all the previous copies of the folder;
- Select restore date and the option you need: Open, Copy and Restore.
Restore the system with System Restore
You can always try to use System Restore in order to roll back your system to its condition before infection infiltration. All the Windows versions include this option.
- Type restore in the Search tool;
- Click on the result;
- Choose restore point before the infection infiltration;
- Follow the on-screen instructions.
Was this tutorial helpful?[Total: 0 Average: 0]
This feature is working on Windows Vista (not Home version), Windows 7 and later versions. Windows keeps copies of files and folders which you can use to restore data on your computer. In order to restore data from Windows Backup, take the following steps:
- Open My Computer and search for the folders you want to restore;
- Right-click on the folder and choose Restore previous versions option;
- The option will show you the list of all the previous copies of the folder;
- Select restore date and the option you need: Open, Copy and Restore.
You can always try to use System Restore in order to roll back your system to its condition before infection infiltration. All the Windows versions include this option.
- Type restore in the Search tool;
- Click on the result;
- Choose restore point before the infection infiltration;
- Follow the on-screen instructions.