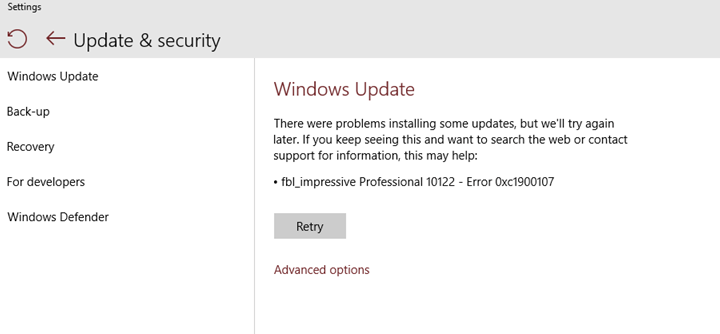
What is “Windows 10 update errors 0xC1900107, 0xC1420127, and 0x80070490″
We need to constantly download Windows Updates to keep our system in safety. However, there are cases when you unable to update your Windows 10 due to some errors. Although these errors are similar, there are many ways to fix them. Today, we are going to learn more about “windows 10 update errors 0xC1900107, 0xC1420127, and 0x80070490” which often occurs with the user in recent times.

How to fix errors 0xC1900107, 0xC1420127, and 0x80070490
Easiest way to fix these errors is to use special computer optimizer Advanced System Repair. It will scan your computer for system errors and issues. Advanced System Repair has wide range of solutions to most of the system problems, including Windows 10 errors 0xC1900107, 0xC1420127, and 0x80070490. Install it and run the scan, then watch it fixing your system’s issues.
How to fix errors 0xC1900107, 0xC1420127, and 0x80070490 manually
Method 1: Remove $WINDOWS.~BT folder
- Open File Explorer by clicking on the file folder icon on the Taskbar , and navigate to C:\ drive.
- Turn on the Hidden items option in View tab.
You will find a hidden required folder $WINDOWS.~BT. This is a temporary folder that keeps all your files downloaded and required for Windows 10 update. Delete or rename this folder and try to update.
Method 2: Run Windows Update Troubleshooter
- Press Windows key + W and type troubleshooting.
- Choose Troubleshooting.
- Select View all on the top left corner.
- Launch Windows Update troubleshooter.
- Check if the problem persists.

